Read the full article at AskVG.com
via AskVG https://ift.tt/378yDfg
Tech News is a blog created by Wasim Akhtar to deliver Technical news with the latest and greatest in the world of technology. We provide content in the form of articles, videos, and product reviews.
Show Multiple Examples in OpenAPI – OpenAPI (aka Swagger) Specifications has become a defecto standard for documenting and sharing REST API. When using OpenAPI it is always best practice to add as much detail as we can. The API specification should be built from the API consumers perspective. The DX or developer experience is important when developing the API.
To improve the API experience we must define attributes with descriptions and example. It is also possible to define multiple examples to show different way the API can be consumed / requested.
First, let us see how swagger editor (editor.swagger.io) shows multiple examples. The examples are shown in a dropdown where user can choose and see appropriate request payload. sample1 and sample2 are two examples for Pet store API.
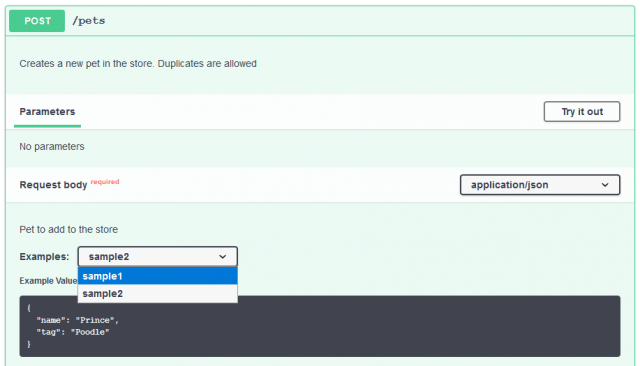
To add multiple examples in OpenAPI, we can define examples attribute as shown below. Notice how we defined sample1 and sample2. You can give any meaningful name relevant to your API.
openapi.yaml
paths: /pets: post: description: Creates a new pet in the store. Duplicates are allowed operationId: addPet requestBody: description: Pet to add to the store required: true content: application/json: schema: $ref: '#/components/schemas/NewPet' examples: sample1: value: name: Cupcake tag: Chihuahua sample2: value: name: Prince tag: PoodleIn OpenAPI, we can also provide example at attribute level. While it is good to define an attribute example (e.g. petType) so the consumer of API know what to pass or what to expect from attribute. However it is also a good idea to provide example at broader request/response level.
The request/response level example would provide much broader context to API consumer and also helps documenting API better. Furthermore many mock tools can generate mock responses from the examples provided in Swagger file.
The multiple example works with both API Request and Response. Similar to what we did above, the same can be specified for API Response. In below screenshot we can see how swagger editor shows multiple response example.
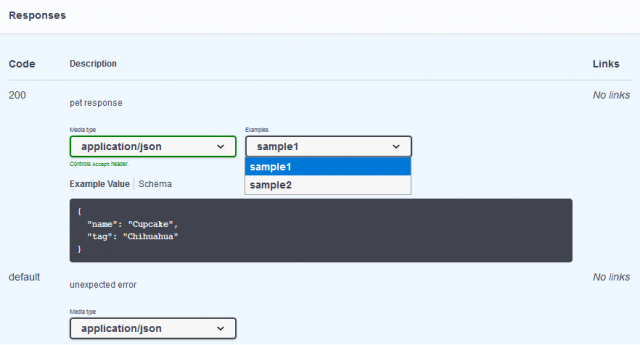
openapi.yaml with examples in response
paths: /pets: get: description: Returns all pets operationId: findPets parameters: - name: tags in: query description: tags to filter by required: false style: form schema: type: array items: type: string - name: limit in: query description: maximum number of results to return required: false schema: type: integer format: int32 responses: '200': description: pet response content: application/json: schema: type: array items: $ref: '#/components/schemas/Pet' examples: sample1: value: name: Cupcake tag: Chihuahua sample2: value: name: Prince tag: Poodle default: description: unexpected error content: application/json: schema: $ref: '#/components/schemas/Error'Hope this little trick will make your API documentation awesome :-)
https://swagger.io/docs/specification/adding-examples/

Local WordPress using Docker – Running a local WordPress development environment is crucial for testing themes and plugin before we push into staging or production environment. To run WordPress locally, we need to install and setup PHP, MySQL (or MariaDB) and WordPress which is not straightforward.
Docker provides an ideal way of setting up local WordPress development setup (for Windows you might prefer WAMP). Using simple docker commands we can quickly spin up a new environment where we can test WordPress themes and plugins. Assuming you already have setup Docker in your machine, starting WordPress is quite rapid.
Since we are running WordPress in Docker, the same setup will work in Window, Mac and Linux.
Let us see how to run local WordPress setup for development using Docker.
Setup Docker Compose for WordPress. Start up a command line terminal and create wp-local folder.
$ mkdir wp-local && cd wp-local $ touch docker-compose.yml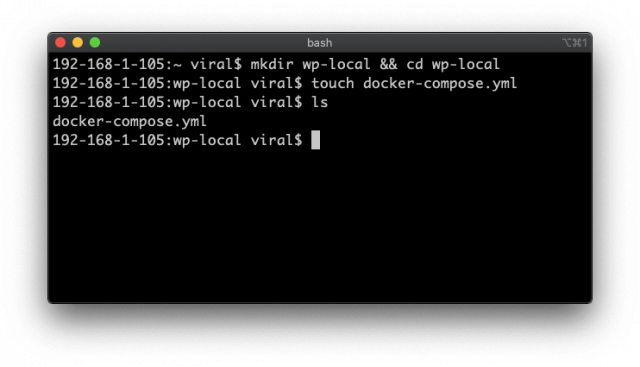
To setup WordPress + MySQL + phpMyAdmin images in the docker-compose, copy following content into it.
docker-compose.yml
version: "3" services: db: image: mysql:5.7 restart: always volumes: - db_data:/var/lib/mysql environment: MYSQL_ROOT_PASSWORD: password MYSQL_DATABASE: wordpress MYSQL_USER: wordpress MYSQL_PASSWORD: wordpress networks: - wp wordpress: depends_on: - db image: wordpress restart: always volumes: - ./:/var/www/html/wp-content environment: WORDPRESS_DB_HOST: db:3306 WORDPRESS_DB_USER: wordpress WORDPRESS_DB_PASSWORD: wordpress ports: - 80:80 - 443:443 networks: - wp phpmyadmin: depends_on: - db image: phpmyadmin/phpmyadmin ports: - 8080:80 environment: PMA_HOST: db MYSQL_ROOT_PASSWORD: password networks: - wp networks: wp: volumes: db_data:In above docker-compose.yml file we are creating 3 containers; mysql, wordpress and phpmyadmin. The wordpress container exposing the wordpress at port 80. Similarly phpmyadmin is exposed at port 8080. Both wordpress and phpmyadmin depends on the db container which runs MySQL image.
Save the docker-compose.yml file and run docker-compose up command to create and start the docker containers with WordPress, MySQL and phpMyAdmin.
$ docker-compose up -dWhen running first time, Docker will build up the stack and download all the images. Hence it might take a while. However subsequent invocation is going to be instant.
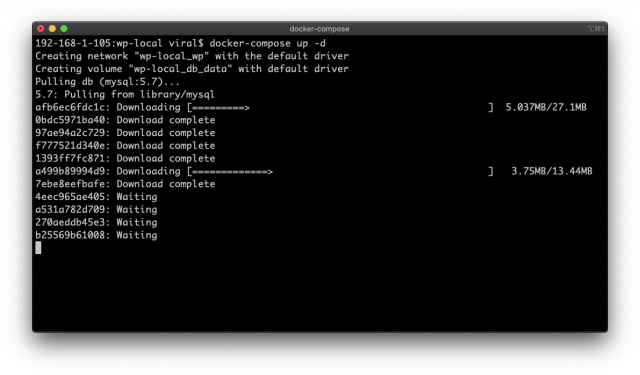
Once the docker-compose is completed, open up the browser and goto http://localhost
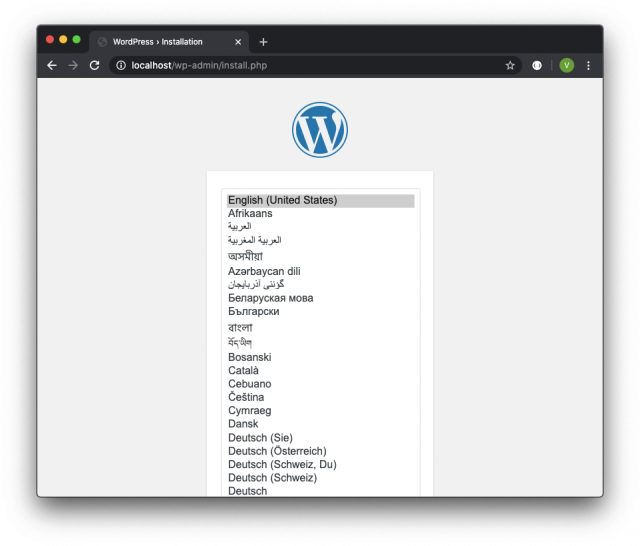
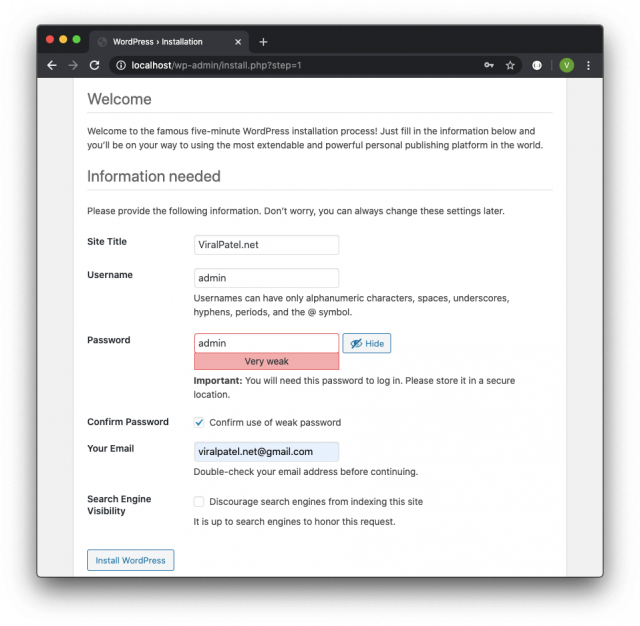
We can start the local wordpress setup. Enter Site Title, Username and Password and press Install WordPress.
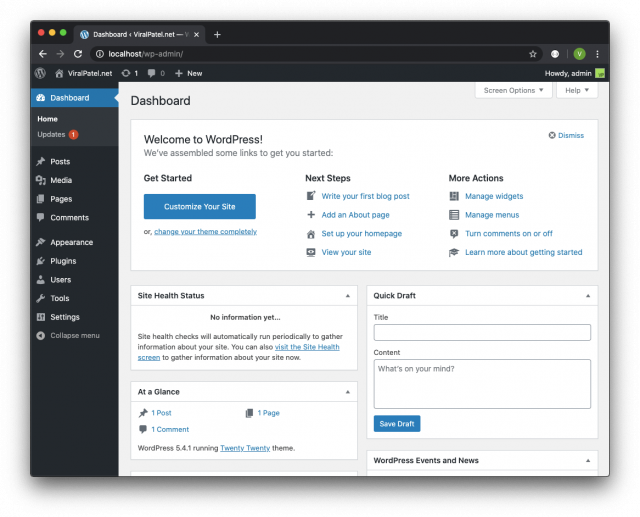
Once WordPress setup is completed, login using the username/password provided in previous step and you will be greeted with WordPress Dashboard.
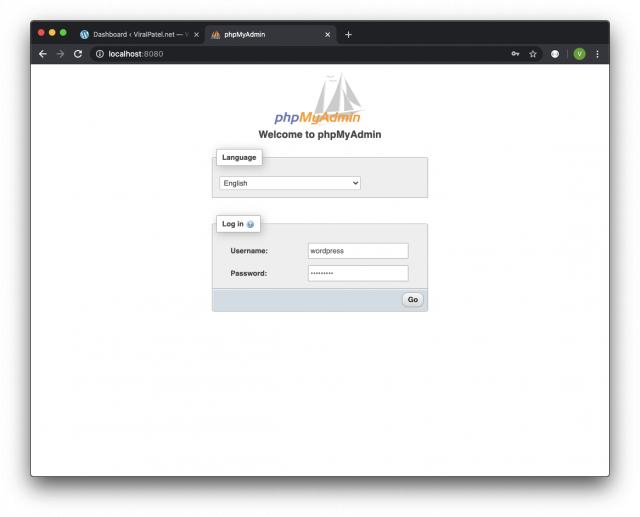
Since we also setup phpMyAdmin in our Docker compose file, login to phpMyAdmin to view/update WordPress database.
The username/password for phpMyAdmin is the value of WORDPRESS_DB_USER and WORDPRESS_DB_PASSWORD environment used in Docker compose file.
Username: wordpress
Password: wordpress
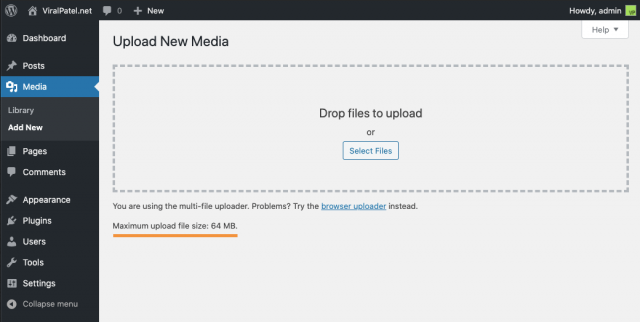
If you are trying to import settings from existing WordPress site once you start your local WordPress docker container, you will realise the default max upload size is 2mb.
To increase the upload file size, we can specify custom php.ini file (in our case upload.ini) and setup the Docker compose file to copy it within container.
Create file upload.ini in the same folder as docker-compose.yml
$ touch upload.iniAdd following in upload.ini to change the upload_max_filesize.
upload.ini
file_uploads = On memory_limit = 64M upload_max_filesize = 64M post_max_size = 64M max_execution_time = 600Update the docker-compose.yml file and mount the local upload.ini file.
wordpress: depends_on: - db image: wordpress restart: always volumes: - ./:/var/www/html/wp-content - ./upload.ini:/usr/local/etc/php/conf.d/uploads.ini environment: WORDPRESS_DB_HOST: db:3306 WORDPRESS_DB_USER: wordpress WORDPRESS_DB_PASSWORD: wordpress ports: - 80:80 - 443:443 networks: - wpRestart the docker container by running docker-compose up -d
Check the max image size under Media > Add New
The docker-compose.yml is available in Github for further update.
Github – source code
Happy WordPressing :-)
If you want to change, customize or disable some built-in keyboard shortcuts (also known as hotkeys) in Mozilla Firefox web browser, this ar...