Although Google Docs is one of the best document creation tools, but it doesn’t do much justice when it comes to handling multimedia content. For example, you can’t add and play videos right inside a Google Docs document (there is an alternative though). Similarly, when it comes to images, Google Docs doesn’t let you add captions to add context to the images.
Therefore, yet again we will have to go with a workaround to add captions to images in Google Docs. Keep reading and I will show you two ways to add captions to images in Google Docs.
Add captions using Google Docs Drawing tool
This solution might require a few extra steps, but it’s the best solution for adding captions to images in Google Docs without distorting the text. What you can do is add the image in Google Docs drawing tool and use the text box feature to attach text to the image and make it a single edited image. Follow the below instructions to do it:
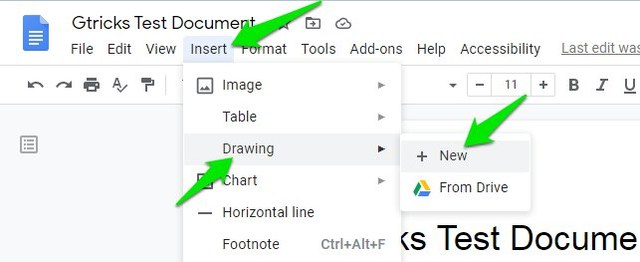
Click on the “Insert” menu at the top and select “New” from the “Drawing” option.
Now either use the “Image” option here to upload the image or copy/paste the image from the document if it’s already uploaded to it.
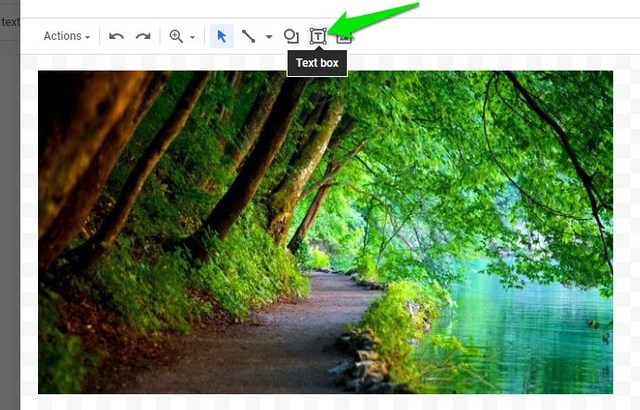
Afterward, click on the “Text box” button from the top bar and place the box right below the image.
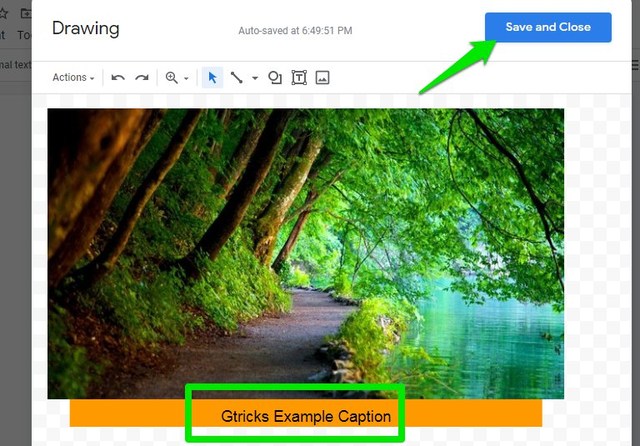
The text box is fully editable, you can adjust size, change box/font color, and even add shapes. Once edited, click on the “Save and Close” button at the top-right corner to insert the image in the document.
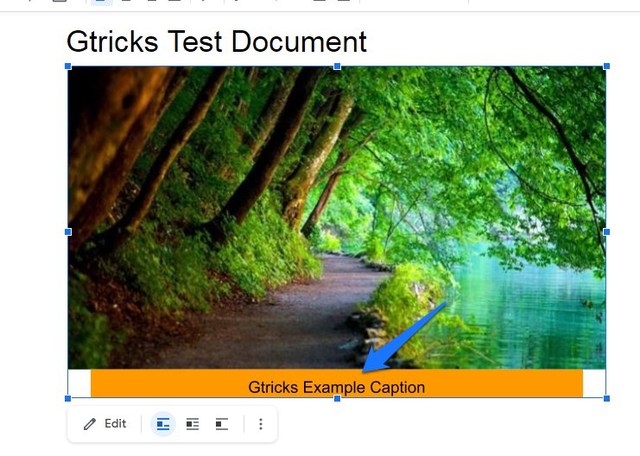
The text will be part of the image and you can edit it any time by double-clicking on the image.
Use a Google Docs Add-on to add captions
If you want a quicker method, then you can also use a third-party add-on that will add captions in bulk. However, the captions will be separate from the image unlike in the above method. For this purpose, we will be using the Caption Maker add-on for Google Docs. Let’s see how to use it:
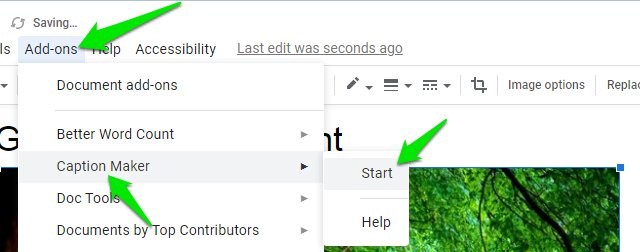
Click on the image to select it and then click on “Add-ons” and select “Start” in the “Caption Maker” add-on options.
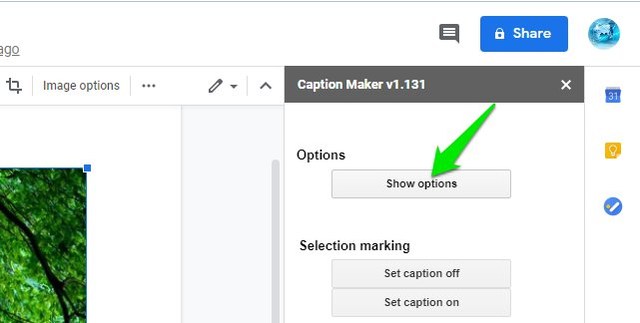
In the right-side penal, click on “Show options”.
Under the “Images and Drawings” section, type caption text in the “New” field. By default, it is set to add “Figure (image number)”. You can also adjust the caption placement location here.

There are also options to adjust font style, color and size, etc. When you are done, click on “Captionize” to apply the caption.

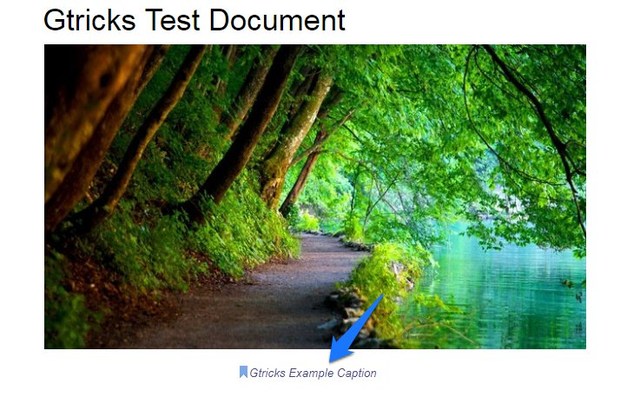
The caption text will be editable right inside the document and it will be applied to all the images in the document.
Wrapping up
I personally find the first method to be most reliable and as it adds clean captions that stick with the image. Of course, it does add a few extra steps, but it’s the only option we have currently. For adding captions in bulk, Caption Maker is definitely worth checking out. Let us know in the comments if you know any other way to add captions in Google Docs images.
The post 2 Ways To Add Captions To Images in Google Docs appeared first on Gtricks.


via Gtricks https://ift.tt/33vV7W4

No comments:
Post a Comment
If you have any question please let me know